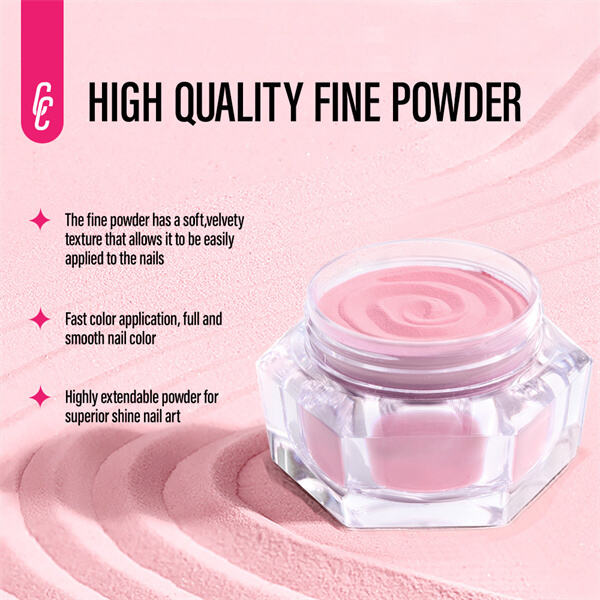
Nail dipping is an exciting way to glam up your nails. This is a part of the process that involves placing your nails into colored powder. It is a powder which you dip your nails into and it sticks to them making them appear more aesthetically pleasing. It is also faster and so much easier than doing regular polish or stickers! It is also long-lasting which means you would not have to worry about reapplying the tint every few days.
As for colors, pick one you really like and those that compliment your skin tone. This is where you can either jump for the sweeter neutral tinted look such as beige or even light pink, otherwise you could be adventurous and go with brightly colored ones that include blue and red. With an array of colors to choose from, you get to experiment with the best one.
However, there is then still the preparation work that needs to be done on your nails before you start with all of the fun dipping. 1. Cut them to your desired length (mine are already pretty short) and file the edges into a nice shape You should also gently loosen the cuticles and clean your nails with rubbing alcohol. This will help to make the powder stick onto your nails better.
After prepping your nails, simply dip them into the base coat included from a nail dip kit. The base coat is also an essential step in the process, because it helps hold onto and cling to your nails a little more so that when you dip them into colored powder they stay on better. Be sure to completely saturate your nails!
The final thing that you can apply after the base coat, is fun! Color your nails by dipping them in a powder. Tap off any excess powder after each dip, and you can repeat this as many times as desired for longer, thicker nails that are fully opaque in color!
Nail art can be a bit intimidating, especially if you are new to it. But don’t worry! However, using nail dips can make all the process more comfortable and easier but without compromising on appearance. But one of the best ideas for nail art is good old colourful French manicure!
For easy peasy fun polka dots- apply your last layer of base coat and dip into a natural shade. Then, use a toothpick or just the end of your dotter with another colour to make 4-5 dots inside that circle. This will put a fun twist to your nails!